Exciting news! By now, if you’re a GetSocial user or reader you know that our vision is to build a social media App Store for all of your needs, from awareness to conversion.
We’ve been working hard to quickly deploy new apps that can help you achieve your goals faster and easier. Last week we launched the Big Counter so you can get more shares from your visitors.
Today I’d like to introduce you to GetSocial’s Welcome Bar. But first, some context. We interact a lot with our customers and receive around 30–50 emails each and every day from you. Feature requests, feedback, and ideas account for almost 80% of them while the rest is support. This not only allows us to get immense quantity (and quality) of feedback but it also allows us to get to know our customers’ websites and this means understanding which tools you use and how you use them.
One pattern we started seeing was the use of welcome bars in many of those websites. And there wasn’t a specific provider which had the majority of usage share. People just had tons of welcome bars provided by different providers, some free and some paid. With that (and our goal/vision) in mind, we decided we should step in and help our customers. So we quickly built the feature and added it to our app store and, of course, there’s no code required.
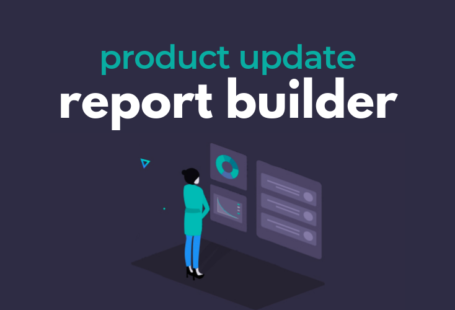
So, I’m proud to introduce our new feature: the Welcome Bar. You’ll find this feature in our app store under the following card:
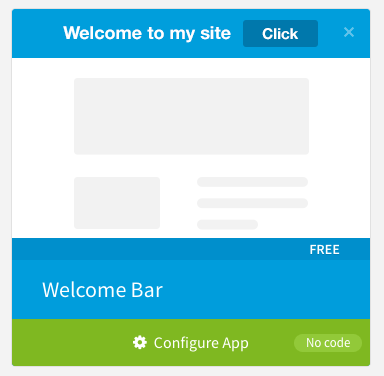
Getting started is very easy and the results, in my biased opinion, are great. If you’re reading this on GetSocial’s blog you’ll find our own welcome bar installed at the top of the page. Neat, right?
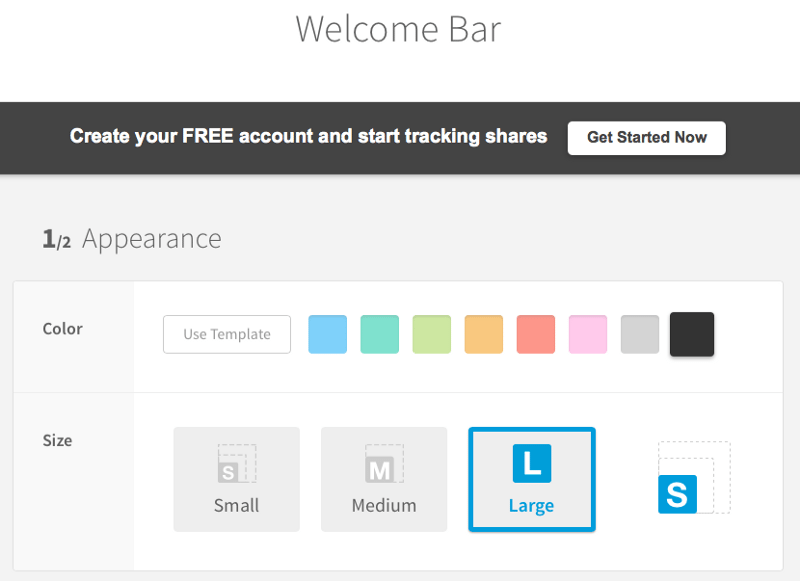
In our app store, click on ‘Configure App’ and you’ll find the Welcome Bar builder. Its first section is all about look & feel. You have a live preview of the changes you’re making. Choose among your favorite color and decide on the size. Here on the blog, we’re using the large option.
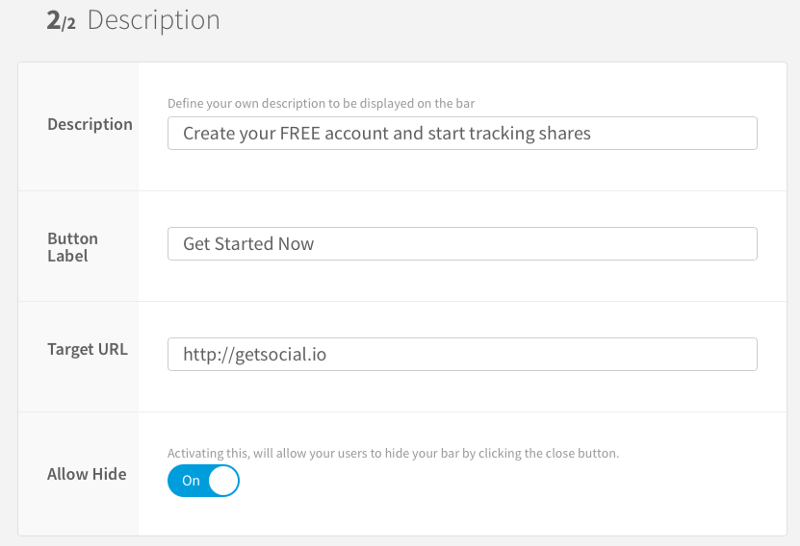
The second section is all about personalization. Here’s where you define the copyright of your welcome bar. The first area relates to the description, which is the text to be displayed on the top bar. The button label is the call to action you want to provide. This can be a link to another blog post, another website or any other URL you decide. After this, you’ll just need to define the target URL, which is the address your visitors will be redirected to once they click the button. We also provide an option for you to allow your visitors to hide the welcome bar.
We hope that this feature helps you get more traffic and more conversions. We’ve already seen the benefits of it by using it here on our blog.
Please feel free to contact us with your feedback and feature requests. The feedback you’ve been giving us so far has been incredible and I’d love for you to keep that up! Our vision is to build an app store for all your social needs and we’re counting on you to help us achieve that.
Interested in knowing more about Dark Social & Analytics?
[su_button url="https://getsocial.io" target="_blank" style="flat" background="#21D2B5" color="#ffffff" size="7" wide="no" center="yes" radius="auto" icon="" icon_color="#FFFFFF" text_shadow="none" desc="" onclick="" rel="" title="" id="" class=""]SIGN UP FOR FREE[/su_button]